
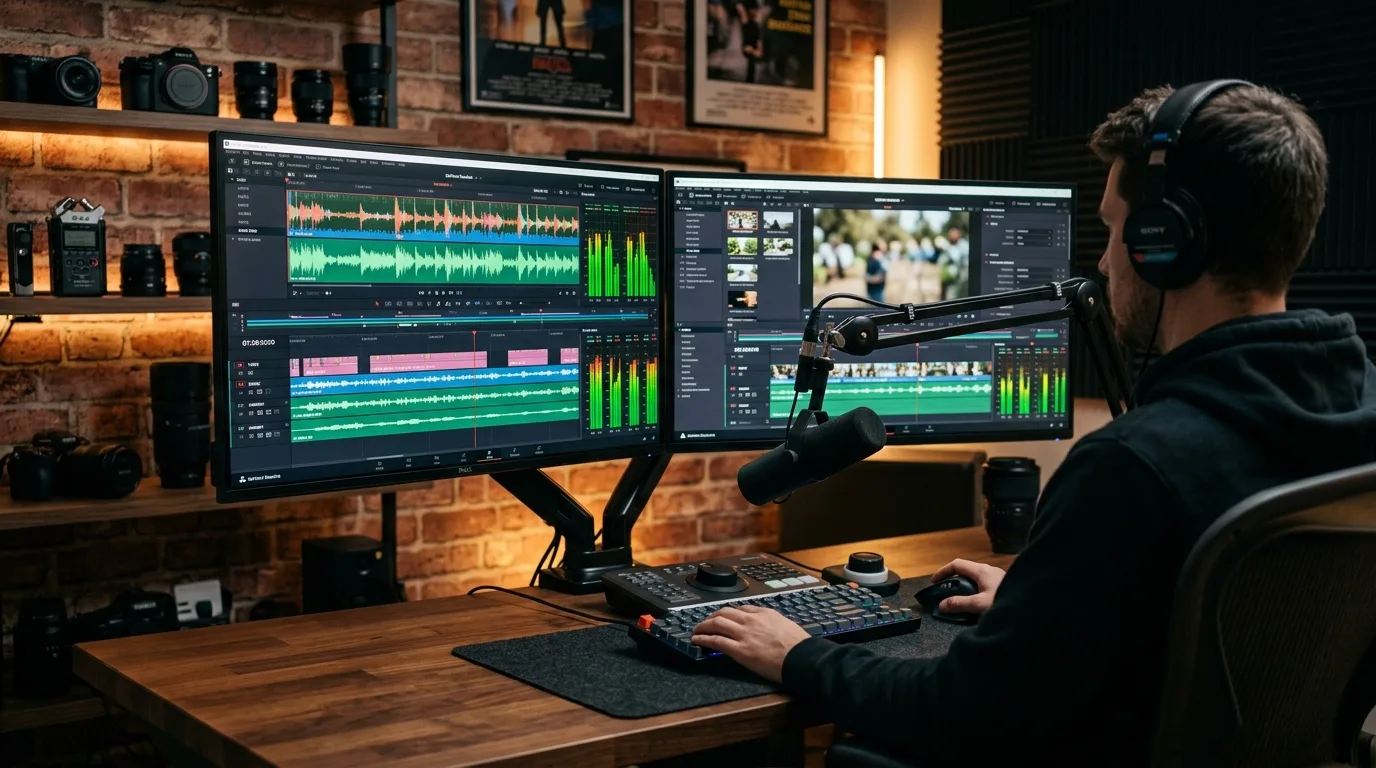
Introduction: The Importance of Crystal Clear Audio
Nothing ruins a beautiful shot faster than terrible sound. You spend hours setting up the perfect lighting, framing your subject flawlessly, and capturing stunning visual footage. Yet, when you sit down to edit, a persistent hiss, a loud air conditioner, or sudden wind completely distracts from your message. Audiences will tolerate low-resolution visuals, but they will click away instantly if they cannot hear the speaker clearly. Learning how to remove background noise from video remains the most crucial skill for any content creator.
Audio sets the emotional tone of your content. Crisp, clean vocals build trust and keep viewers engaged from start to finish. Conversely, distracting sounds instantly break the immersion. When you eliminate these unwanted frequencies, you elevate your production value and immediately position yourself as a true professional in your field.
Looking to polish your project perfectly? Discover professional video editing services to make your footage sound and look flawless.
Understanding the Different Types of Background Noise
Before you can fix your audio, you must understand what kind of sonic interference you face. Sound issues generally fall into a few distinct categories. Identifying the exact nature of the interference helps you choose the correct tool and method for eradication.
Broadband Noise and Hiss
Broadband noise stretches across multiple frequencies. You typically hear this as a steady hiss or static in the background of your footage. Low-quality microphone preamps or recording in a seemingly quiet room with ambient static often cause this issue. Because this sound covers a wide frequency range, removing it requires precise threshold adjustments to avoid damaging the human voice.
Hum and Buzz
Electrical interference usually causes a low-frequency hum or a higher-pitched buzz. In North America, power lines often create a 60Hz hum, while other parts of the world experience a 50Hz hum. Refrigerator motors, fluorescent lights, and poorly grounded cables introduce these annoying tones. Equalization tools handle hums exceptionally well because they exist at very specific, predictable frequencies.
Irregular Environmental Sounds
Wind howling into the microphone, a passing siren, or a slamming door represent irregular environmental sounds. These unpredictable transients prove much harder to isolate than steady hiss. Modern editing software uses complex algorithms to identify the human voice and separate it from these chaotic environmental disruptions.
Pre-Production: Preventing Noise Before You Record
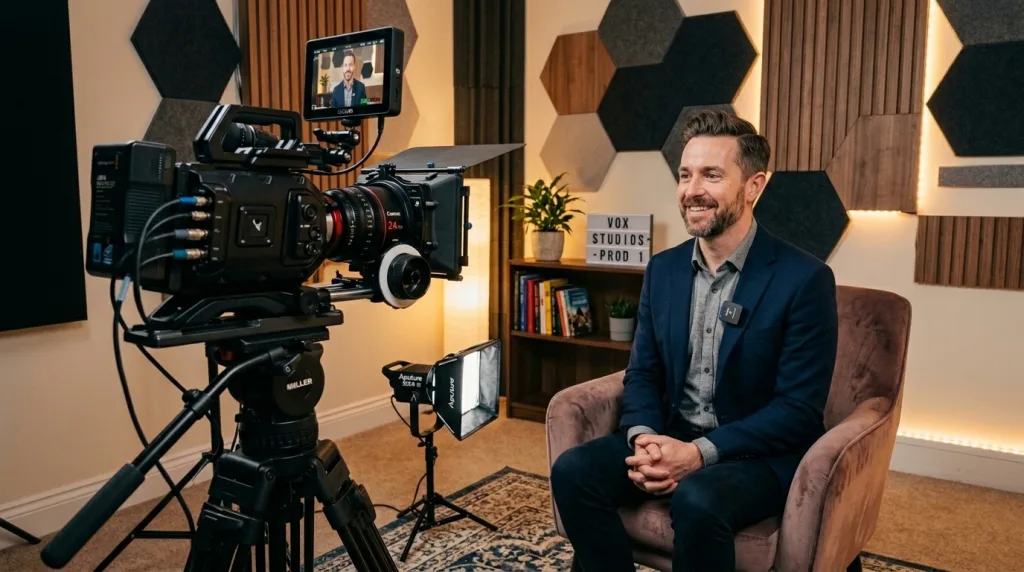
The best way to fix bad audio is to prevent it from happening in the first place. You save hours of frustrating post-production work by taking a few simple precautions on set. Proper microphone placement and room treatment drastically reduce the need for heavy digital processing later.
Choose the Right Microphone for the Job
Never rely on your camera’s internal microphone. Camera manufacturers design these built-in sensors to capture everything in the room, making them highly susceptible to room echo and ambient sound. Instead, use a directional shotgun microphone for sit-down interviews. Shotgun mics reject sounds coming from the sides and rear, focusing entirely on the person speaking. For active shots, attach a wireless lavalier microphone directly to your subject’s shirt, keeping the capsule mere inches from their mouth.
Control Your Recording Environment
Listen critically to your room before you hit the record button. Turn off the air conditioning, unplug humming refrigerators, and wait for loud outside traffic to pass. If you record in a room with bare walls and hard floors, sound waves will bounce around and create an ugly reverb. Hang thick moving blankets off-camera to absorb these reflections. Place rugs on hardwood floors. Even simple adjustments completely transform the clarity of your raw vocal tracks.
How to Remove Background Noise in Premiere Pro
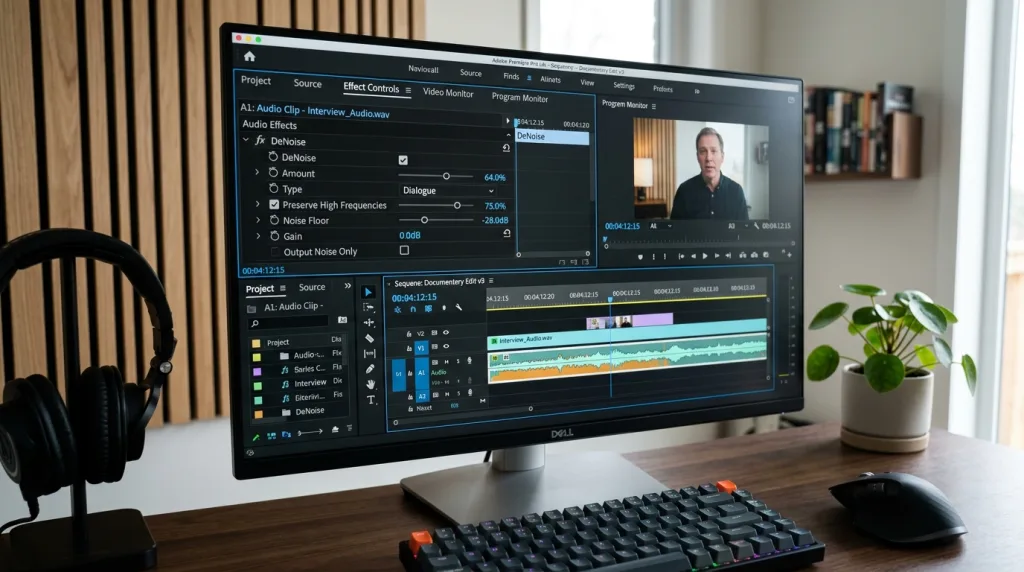
Adobe Premiere Pro offers some of the most robust, user-friendly tools for cleaning up audio directly within your video timeline. You do not need a degree in audio engineering to achieve fantastic results here. The software provides dedicated effects that target specific problems quickly and efficiently.
Applying the DeNoise Effect
Premiere Pro features a powerful DeNoise effect built specifically for steady background hiss. To use it, open your Effects panel and search for “DeNoise.” Drag this effect directly onto your audio clip in the timeline. Next, open the Effect Controls panel and click the “Edit” button next to the DeNoise parameters. A new window will appear with a simple slider.
Start by playing your clip and slowly increasing the “Amount” slider. You will instantly hear the hiss fade away. However, you must exercise caution. If you push the slider too high (usually beyond 40%), the speaker’s voice will begin to sound robotic, muffled, or trapped underwater. Find the sweet spot where the hiss disappears, but the voice remains natural and crisp.
Using the Essential Sound Panel
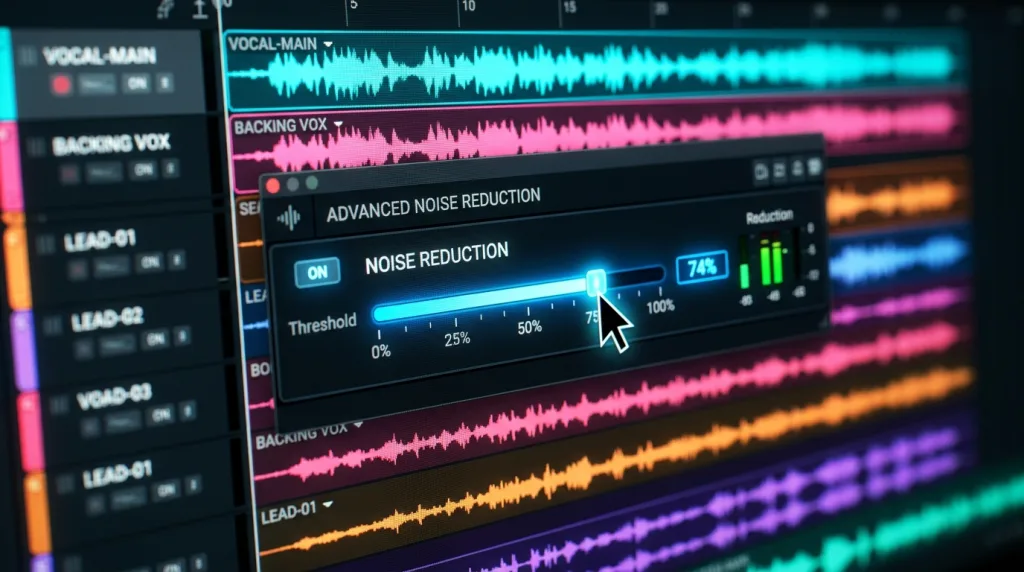
For an even faster workflow, utilize the Essential Sound panel. Select your audio clip and assign it the “Dialogue” tag. Premiere automatically reveals a “Repair” section containing simple checkboxes for Reduce Noise, Reduce Rumble, Reduce Hum, and Reduce Reverb. Tick the boxes you need and adjust the intensity sliders. This panel streamlines the entire process, allowing you to focus on the creative edit rather than getting bogged down in complex audio parameters.
Eliminating Audio Interference in DaVinci Resolve
DaVinci Resolve has aggressively updated its audio post-production suite, Fairlight. Filmmakers and content creators flock to Resolve because it packs incredible professional-grade audio tools into the same interface used for color grading and cutting.
The Power of Voice Isolation
Recent versions of DaVinci Resolve Studio introduced a revolutionary Voice Isolation tool. This feature uses advanced neural processing to separate human speech from literally everything else. Whether your subject stands next to a busy highway, a loud construction site, or a humming server room, Voice Isolation tackles it seamlessly.
To activate it, navigate to the Fairlight page or the Edit page. Select your clip, open the Inspector panel, and navigate to the Audio tab. Toggle on “Voice Isolation.” You will see a single dial controlling the intensity. Turn it up, and watch as the software miraculously mutes roaring airplane engines while keeping the vocal dialogue pristine. Because this tool acts aggressively, keep the dial around 50% to 70% to preserve the natural cadence of the speaker’s breath and subtle vocal inflections.
Cleaning Up Sound with Audacity (Free Method)
If you need a free, open-source solution, Audacity remains the undisputed king of audio manipulation. While you cannot edit video directly in Audacity, you can easily export your video’s audio track, clean it up here, and sync it back in your primary video editor.
Capturing a Noise Profile
Audacity uses a highly effective two-step process to eradicate hiss. First, you must teach the software exactly what the interference sounds like. Highlight a small section of your audio track where no one speaks only the ambient room sound should play. Go to Effect, navigate to Noise Removal and Repair, and select “Noise Reduction.” Click the button that says “Get Noise Profile.” Audacity now memorizes the exact frequency blueprint of your room’s interference.
Applying the Reduction
Next, highlight the entire audio track. Open the Noise Reduction effect window again. This time, adjust the parameters in Step 2. Keep your Noise Reduction (dB) around 10 to 14. Set your Sensitivity between 4 and 6, and leave Frequency Smoothing at 3. Click “OK.” Audacity mathematically subtracts the memorised profile from the entire track. The result sounds dramatically cleaner, allowing your vocals to punch through the silence effortlessly.
Advanced Techniques: EQ and Compression
Simply removing the bad sounds rarely finishes the job. Often, the noise reduction process strips away some of the warm, rich frequencies of the human voice. To achieve true broadcast quality, you must rebuild the voice using Equalization (EQ) and Compression.
Restoring Warmth with Equalization
An Equalizer lets you boost or cut specific frequencies. After you remove background interference, the voice might sound slightly thin or tinny. Open a Parametric EQ effect. Apply a High-Pass Filter around 80Hz to eliminate any sub-bass rumble you might have missed. Then, add a slight boost (around 2 to 3 decibels) between 100Hz and 200Hz to bring back the deep, resonant warmth in the speaker’s chest. Finally, add a tiny boost near 3kHz to 5kHz to enhance clarity and crispness, ensuring the words cut through clearly.
Leveling Audio with Compression
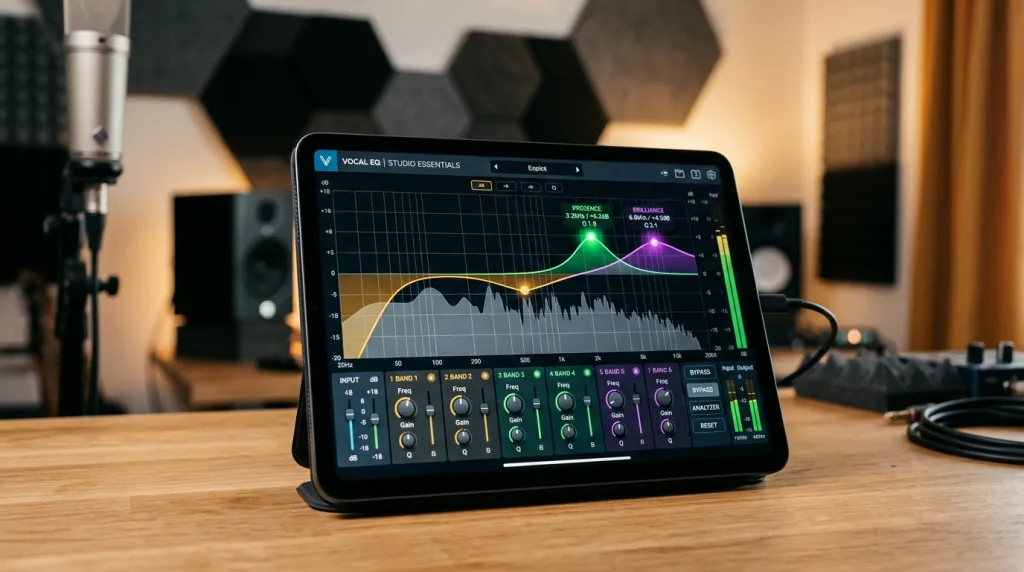
When people speak, their volume naturally fluctuates. They whisper certain words and shout others. A compressor automatically controls these wild volume changes. It turns down the loudest parts of the track and boosts the quietest parts, creating a smooth, consistent listening experience. Set your compressor ratio to 3:1 or 4:1. Lower the threshold until the compressor catches the loudest peaks of the dialogue. A well-compressed vocal track sounds incredibly professional and keeps viewers from constantly adjusting their device volume.
Editing Audio on Mobile Devices

Content creation moves faster today than ever before. Many creators shoot, edit, and publish their content entirely from their smartphones. Fortunately, mobile applications have evolved to handle complex audio restoration tasks that previously required a desktop computer.
CapCut’s Built-In Features
CapCut dominates the mobile editing space because it provides surprisingly powerful tools for free. When you drop a clip onto the CapCut timeline, tap the video to reveal the bottom toolbar. Swipe right until you find the “Reduce Noise” icon. Toggle the switch on. CapCut immediately applies a smart algorithm to suppress ambient hiss and hum. While it lacks the fine-tuned control of desktop software, it works wonders for vloggers and social media creators recording in unpredictable environments.
LumaFusion for Advanced Mobile Editors
If you edit on an iPad and require more control, LumaFusion stands out as a professional-grade option. LumaFusion offers multi-band equalizers and advanced audio effect plugins. You can apply specific high-pass filters to cut out wind rumble or use precise volume keyframing to manually duck background interference during pauses in dialogue. Mobile editing no longer means sacrificing sonic quality.
When to Bring in a Professional Video Editor
Sometimes, audio problems exceed the capabilities of simple sliders and standard software. If your microphone cord continuously scratched against clothing, or if intense wind completely distorted the dialogue, standard tools might fail. Heavy distortion requires spectral repair a process that visually paints out bad frequencies pixel by pixel.
When your project carries high stakes, such as a commercial, a documentary, or a corporate presentation, you cannot afford amateur audio. In these scenarios, handing the project over to an expert guarantees perfect results. A professional brings trained ears, premium plugins, and years of acoustic problem-solving experience to the table. They know exactly how far they can push a file without destroying it.
Curious about industry pricing? Review current freelance video editor rates to budget effectively for your upcoming creative projects.
Marketing Your Newly Polished Content
Once you achieve pristine audio and perfect visuals, your video is ready for the world. However, great content requires visibility. You must apply the same level of care to your marketing strategy as you did to your sound mixing. Search engines rely heavily on metadata, titles, and descriptions to understand the context of your media.
If you publish tutorials on audio mixing, ensure you optimize your titles. Using the right search terms helps audiences find your content organically. Incorporating strategic text into your video descriptions and tags boosts your ranking significantly. To dive deeper into optimizing your upload strategy, research effective video editing keywords to capture the highest possible search volume in your niche.
Common Mistakes to Avoid During Audio Editing
Many beginners fall into predictable traps when trying to clean up their sound. Recognizing these mistakes saves you from ruining perfectly good takes.
The “Underwater” Robotic Effect
The most common mistake involves applying too much reduction. When you force the software to eliminate every single microscopic speck of static, the algorithm begins eating into the human voice. The speaker suddenly sounds like a robot talking through a tin can underwater. Always prioritize a natural-sounding voice over absolute silence. A tiny bit of background hiss always sounds better than a heavily distorted, synthetic vocal track.
Ignoring Room Tone
Editors often strip away all sound during the pauses between dialogue, creating sudden drops into dead, digital silence. This abrupt transition jars the listener. To fix this, always record thirty seconds of “room tone” the natural, quiet ambiance of the room without anyone speaking. Place this room tone underneath your entire dialogue track. This creates a cohesive, natural bed of sound that glues the vocal cuts together smoothly.
Mixing on Terrible Speakers
Never judge your final mix through cheap laptop speakers or standard earbuds. These devices color the sound, hiding deep bass issues and masking harsh high frequencies. Always edit your audio using a pair of flat-response studio monitor headphones. These headphones reveal exactly what the file sounds like, ensuring your final export translates perfectly across televisions, smartphones, and car stereos.
Setting the Right Export Settings for Audio
All your hard work in the timeline means nothing if you compress the life out of the audio during export. Video editors frequently obsess over video bitrates while completely ignoring the audio tab in their export window.
Always export your final master using the AAC (Advanced Audio Coding) format for web delivery, or uncompressed WAV for archival purposes. Set your audio sample rate to 48000 Hz (48 kHz), which stands as the standard for video production. Push your audio bitrate to a minimum of 320 kbps. These settings guarantee that the rich, clean dialogue you crafted in the editing bay survives the compression process when you upload the file to streaming platforms.
Conclusion: Elevating Your Content with Flawless Sound
Mastering the art of audio restoration completely transforms the way audiences perceive your work. Clean, interference-free dialogue builds instant credibility and keeps viewers engaged longer. You now understand the vital importance of capturing high-quality sound on set, from choosing the right microphone to controlling room acoustics.
You also possess the knowledge to tackle problems in post-production. Whether you use the simple sliders in Premiere Pro, the advanced neural tools in DaVinci Resolve, or the open-source power of Audacity, you hold the tools to salvage tricky recordings. Remember to prioritize natural-sounding vocals over absolute digital silence, and always bring warmth back into the voice using equalizers and compressors. By treating your audio with the same respect as your visuals, you guarantee a cinematic, professional experience for every single viewer.
Ready to captivate your audience? Explore our expert video editing solutions to elevate your content to the highest standard.
Frequently Asked Questions
What is the easiest software for beginners to clean audio?
CapCut and Premiere Pro offer the most straightforward solutions for beginners. CapCut provides a single-tap toggle to reduce interference on mobile devices. Premiere Pro features an Essential Sound panel that allows users to quickly select a “Dialogue” preset and fix issues using simple, intuitive sliders without complex menus.
Why does my voice sound robotic after editing?
Your voice sounds robotic because you applied the noise reduction effect too aggressively. When the software removes extreme amounts of background static, it accidentally removes overlapping frequencies found in human speech. To fix this, lower the intensity or threshold slider until the voice sounds natural again, even if it leaves a faint whisper of static.
Can I remove wind sounds from outdoor footage?
Yes, but wind proves very challenging. Wind hits the microphone in unpredictable, low-frequency bursts. Use a High-Pass Filter in your equalizer to cut frequencies below 100Hz, which eliminates the heavy rumble. For severe wind, advanced tools like DaVinci Resolve’s Voice Isolation perform exceptionally well at separating speech from weather disruptions.
Do I need an expensive microphone to get good sound?
No, you do not need an expensive microphone to achieve excellent results. Proper microphone placement matters much more than the price tag. Keeping a budget lavalier microphone close to the speaker’s mouth always sounds infinitely better than a $1,000 microphone placed across a reverberant room. Distance and environment dictate quality.
What is room tone and why do I need it?
Room tone represents the natural, ambient sound of your recording location when nobody speaks. You need it to fill the gaps between audio cuts. If you completely silence the track during pauses in dialogue, the sudden lack of sound feels jarring. A continuous bed of room tone creates a seamless, natural listening experience.
Should I edit audio before or after color grading?
You should typically finalize your audio mix after you lock your visual edit, but before or simultaneously with color grading. Locking the visual cut first ensures you do not waste time mixing sound for clips that you ultimately delete. However, many modern editors handle audio and color grading concurrently in programs like DaVinci Resolve.
Is Audacity better than Premiere Pro for audio?
Audacity focuses entirely on audio manipulation, making it highly capable for specific tasks like capturing detailed noise profiles. However, it cannot edit video. Premiere Pro offers excellent built-in audio tools that handle 90% of standard cleanup tasks without requiring you to export files to a separate program, making it faster for video workflows.
How do I fix a harsh echo in my recording?
Fixing an echo in post-production proves notoriously difficult. You can mitigate it slightly by using a DeReverb plugin, which attempts to identify and mute bouncing sound waves. However, the best method always involves prevention. Hang blankets, use rugs, or move to a smaller room filled with soft furniture before you begin recording.
Keep reading
All articles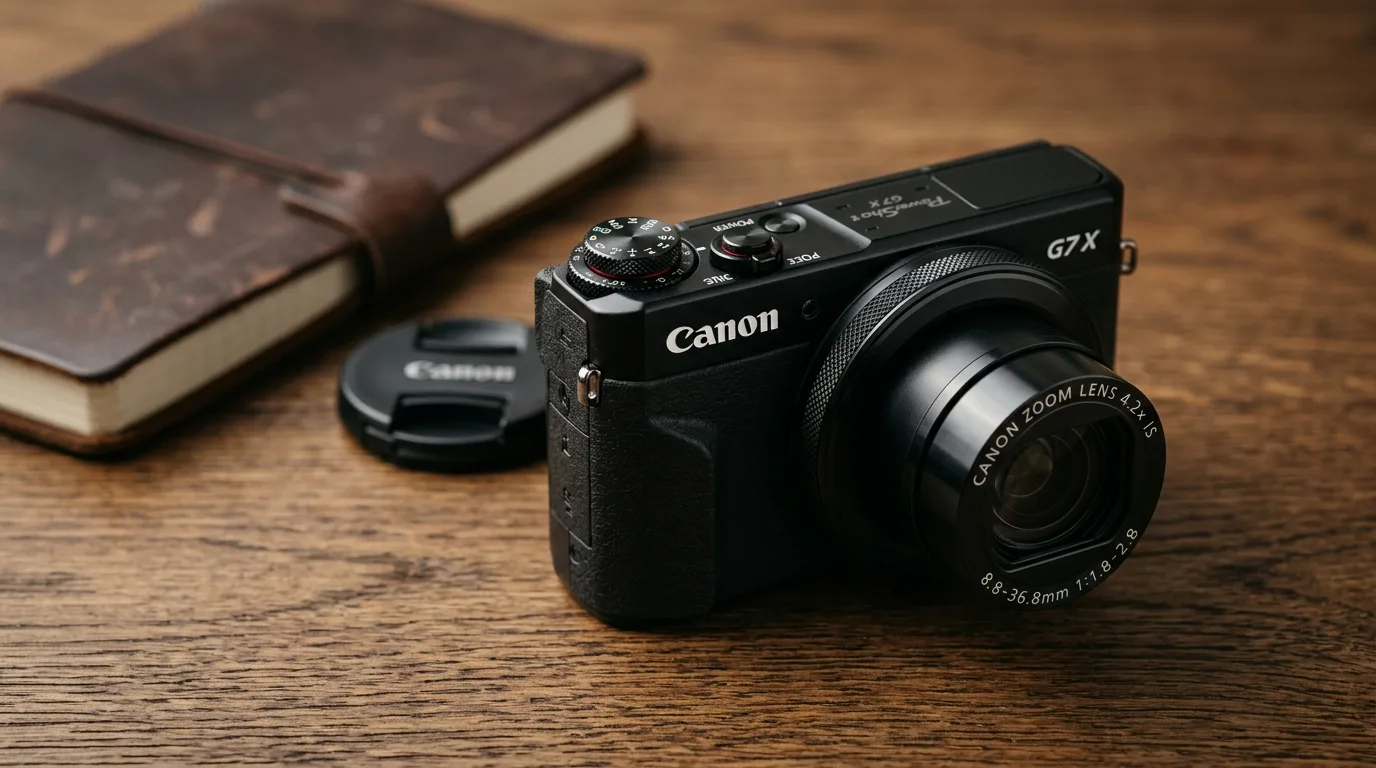
The Ultimate Canon Power Shot G7 X Review: Is This Premium Pocket Camera Still Relevant Today?
The premium compact camera market underwent a massive revolution when manufacturers started squeezing large 1-inch sensors into bodies that easily slide into…
Read article
Mirror vs Camera: Which Shows Your Real Face More Accurately?
Have you ever taken a selfie and thought, “I don’t look like that in the mirrorâ€�? You stand in front of your…
Read article
Freelance Video Editor Rates: The Complete 2026 Cost and Budgeting Guide
The modern digital landscape relies heavily on high-quality video content to capture audience attention, drive brand engagement, and secure conversions. Whether you…
Read article